Imagine a dish that combines the crispy, golden exterior of fried chicken with the ease and health benefits of baking. Oven-baked chicken cutlets offer just that—a perfect blend of flavor and convenience that’s hard to resist. Whether you’re a busy parent looking for a quick dinner solution or someone who loves cooking without the hassle, this recipe is a game-changer.
What makes this recipe stand out? It’s not just about the taste; it’s about the experience. With minimal prep and cleanup, you can enjoy a restaurant-quality meal from the comfort of your home. The secret lies in the unique breading process, which uses seasoned breadcrumbs, olive oil, and fresh herbs to create a crispy texture that rivals frying.
In this guide, we’ll walk you through everything you need to know to make perfect oven-baked chicken cutlets. From selecting the right ingredients to mastering the cooking techniques, we’ve got you covered. By the end of this article, you’ll be equipped with the skills to create a dish that’s not only delicious but also healthier than its fried counterpart.
Table of Contents
For those seeking a meal that’s both satisfying and stress-free, oven-baked chicken cutlets are an excellent choice. This recipe offers a perfect blend of flavor and convenience, making it ideal for busy weeknights or any occasion when you want a delicious meal without the hassle.
Overview of This Quick & Tasty Recipe
Baking instead of frying reduces oil usage and makes cleanup easier. The key to crispiness lies in the egg mixture and seasoned breadcrumbs, which adhere perfectly to create a golden exterior. Using parchment paper ensures the cutlets bake evenly and come out crispy without sticking.
The recipe achieves a balanced flavor with a light coating of olive oil and well-seasoned ingredients. This method not only enhances taste but also maintains a healthier profile compared to fried options. Whether it’s a family dinner or a quick meal, oven-baked chicken cutlets are versatile and satisfying.
Why Bake Instead of Fry?
When it comes to cooking chicken, the debate between baking and frying often comes down to health, convenience, and taste. Baking offers a healthier alternative to frying, significantly reducing the fat content of your meal. By using a baking sheet, you can achieve even cooking and a crispy texture without the need for excess oil.
Health and Clean-Up Benefits
Baked chicken cutlets are a smarter choice for those looking to eat healthier. The process eliminates the need for deep frying, which means less oil and fewer calories. Plus, cleanup is a breeze—no greasy pans or splatters to deal with. This method preserves the natural juices of the chicken, resulting in a tender and flavorful dish.
Crispy Texture Without the Extra Oil
The secret to achieving a fried-like crunch lies in the preparation. Pounding the chicken breasts to an even thickness ensures that each cutlet cooks uniformly. A light coating of olive oil and seasoned breadcrumbs seals in moisture while creating a golden exterior. This approach delivers the satisfying crispiness you love without the extra oil.
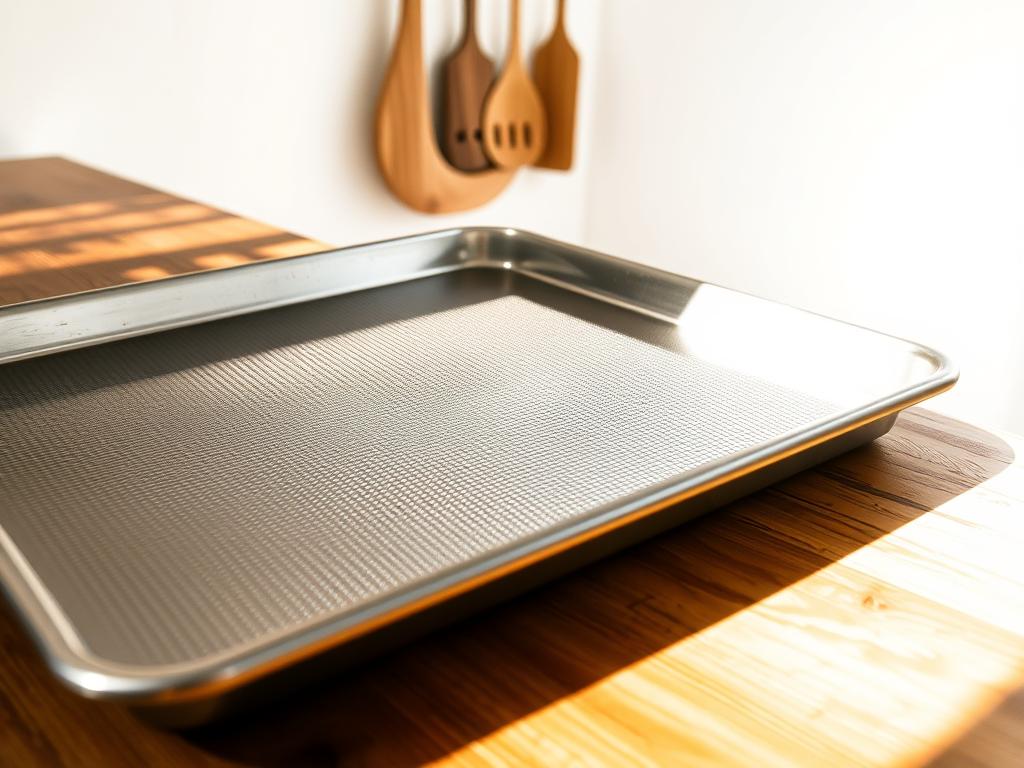
With this chicken cutlet recipe, you can enjoy a guilt-free meal that’s both nutritious and delicious. It’s perfect for anyone seeking a tasty, healthier alternative to traditional frying methods.
Gathering the Best Ingredients for Your Cutlets
Creating a memorable dish begins with selecting top-notch ingredients. For oven-baked cutlets, quality is key to achieving that perfect balance of flavor and texture.
Using Quality Chicken Breast
Start with fresh, high-quality chicken breasts. This ensures your cutlets are juicy and tender. To achieve even cooking, thinly slice each breast or gently pound them to an uniform thickness.
Seasoned Breadcrumbs, Cheese, and Fresh Herbs
A homemade breadcrumb mixture elevates the dish. Mix seasoned breadcrumbs with grated cheese and fresh herbs like parsley or thyme for added depth. A fresh egg helps bind the ingredients, creating a golden, crispy exterior without extra oil.
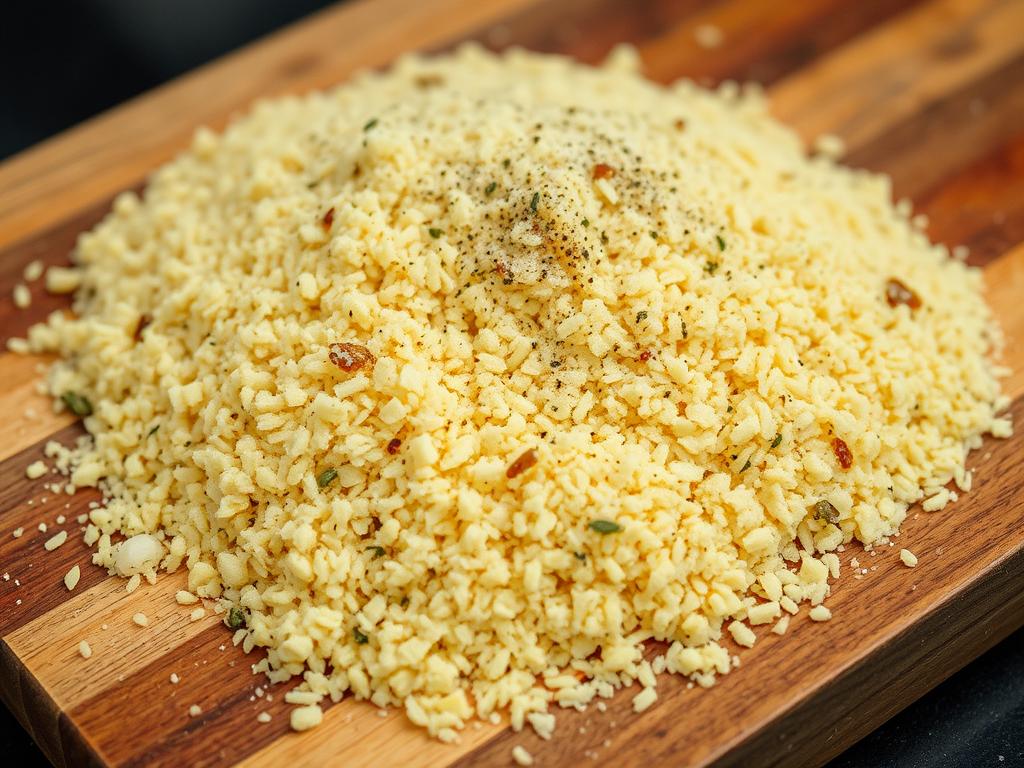
Using fresh ingredients ensures a vibrant flavor. Avoid pre-packaged seasonings for the best taste. This approach makes each bite delicious and satisfying.
Preparing and Pounding the Chicken Cutlets
Properly preparing the chicken is essential for achieving even cooking and a tender texture. This step ensures your dish turns out perfectly every time.
Slicing Techniques for Even Thickness
To create uniform pieces, start by slicing each chicken breast in half. Place the breast on a flat surface and carefully slice it horizontally. This method helps achieve even thickness, which is crucial for consistent cooking. Pat each piece dry with a paper towel to remove excess moisture—this step is vital for seasoning and browning.
Pounding Tips for Tender Cutlets
Next, use a meat mallet or rolling pin to gently pound each piece to about 1/4 inch thickness. This process should take just a few minutes per piece. Season with a pinch of salt on both sides to enhance flavor and texture. Ensure every piece reaches the same thickness for even baking results.
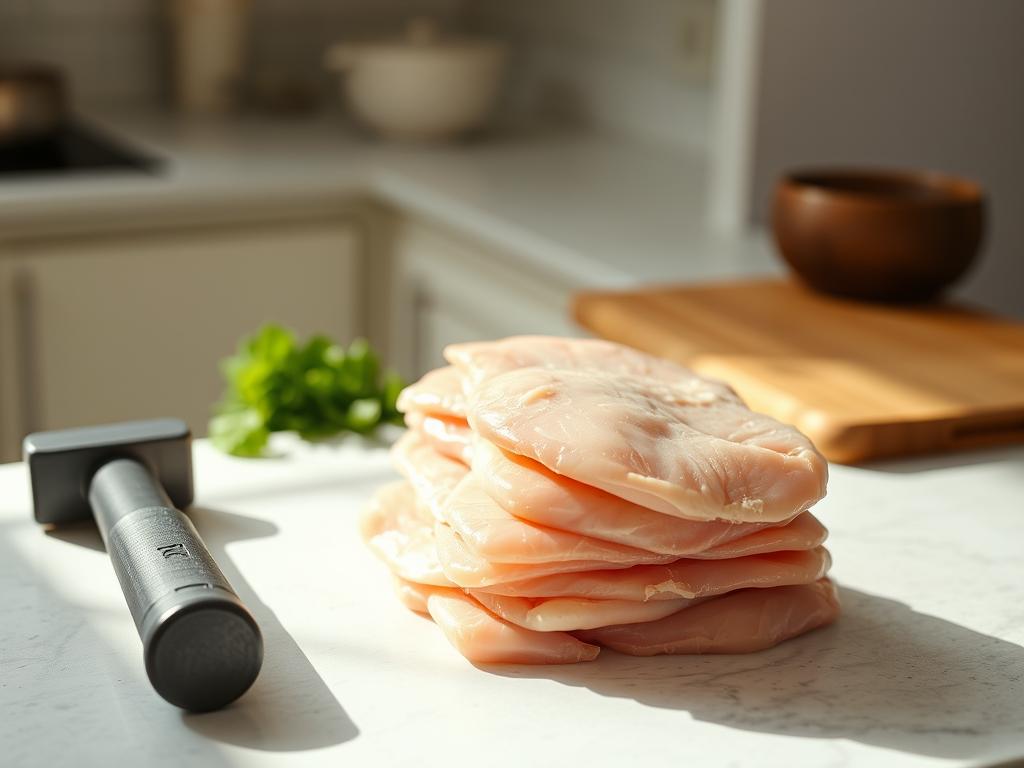
By following these steps, you’ll ensure your chicken cutlets are evenly cooked and full of flavor. This preparation method is quick, efficient, and guarantees a delicious outcome every time.
Perfecting the Breading Process
The secret to achieving a crispy exterior lies in a well-executed breading process. This step is crucial for enhancing both texture and flavor, ensuring your dish stands out.
Creating a Flavorful Egg Mixture
A robust egg mixture is the foundation of a great breading. Combine beaten eggs with grated cheese and fresh herbs like parsley or thyme. This blend adds a rich, savory flavor and helps the breadcrumbs adhere evenly. Remember, the balance of ingredients is key—too much cheese can make it heavy, while too little might lack flavor.
Applying Seasoned Breadcrumbs Evenly
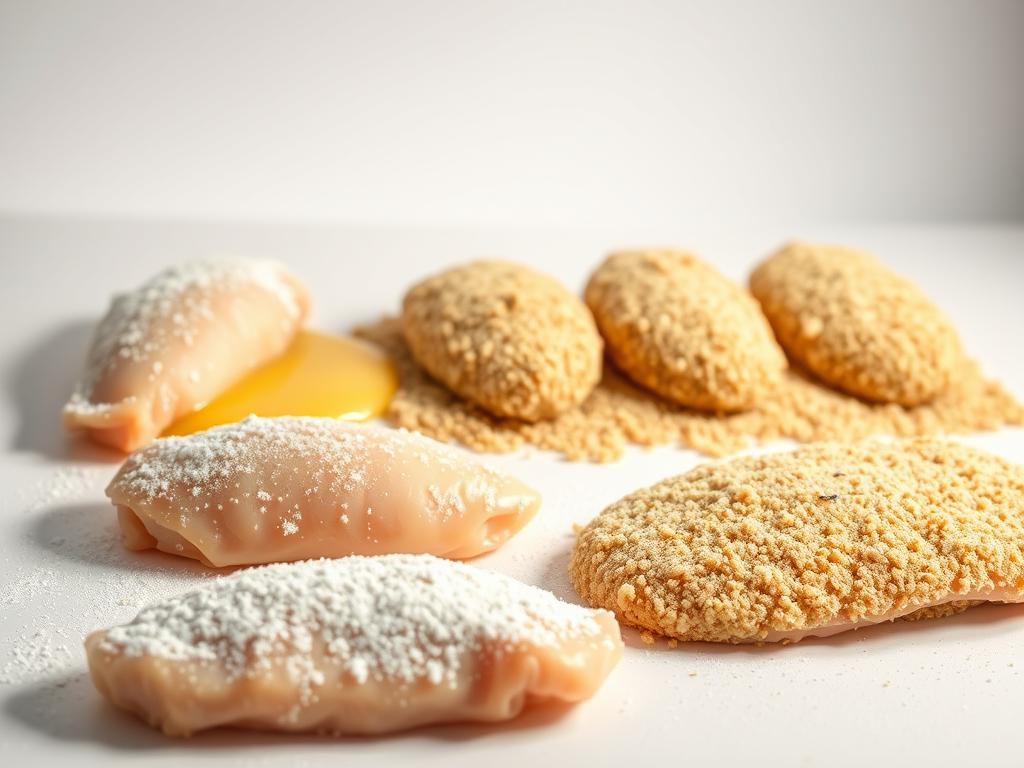
Next, dredge the thin chicken breast slices in a mixture of panko breadcrumbs seasoned with pepper and your favorite spices. Lightly coat each piece to avoid a heavy layer. Gently press the crumbs onto the meat to ensure they stick well. Over-breading can lead to a thick, overpowering crust, so moderation is essential.
Even coating ensures a uniform, crispy exterior when baked. This method guarantees each bite is flavorful and satisfying, without the need for extra oil.
Essential Cooking Techniques for Crispy Results
Achieving that perfect crispiness in your baked dishes requires more than just the right ingredients—it’s all about the technique. Mastering these essential cooking methods will take your meals from ordinary to extraordinary, ensuring every bite is as satisfying as the first.
Oven Temperature and Rack Placement
Oven temperature plays a critical role in creating a crispy crust. Preheating your oven to 425°F ensures a hot start, which is vital for achieving that golden-brown texture. Placing the rack in the lower third of the oven allows for optimal airflow, promoting even browning and preventing the bottom from burning.
A light spray of oil on the parchment paper or directly on the cutlets can make a significant difference. This small step enhances the texture and appearance, giving your dish a professional finish. For an extra crispy result, consider flipping the cutlets halfway through the cooking time to ensure both sides are evenly crisped.
Once cooked to perfection, remove the cutlets from the oven and finish with a sprinkle of fresh parsley. This adds a burst of fresh flavor and a pop of color to each side, making your dish not only delicious but also visually appealing. Parsley not only enhances the presentation but also complements the savory flavors of your meal.
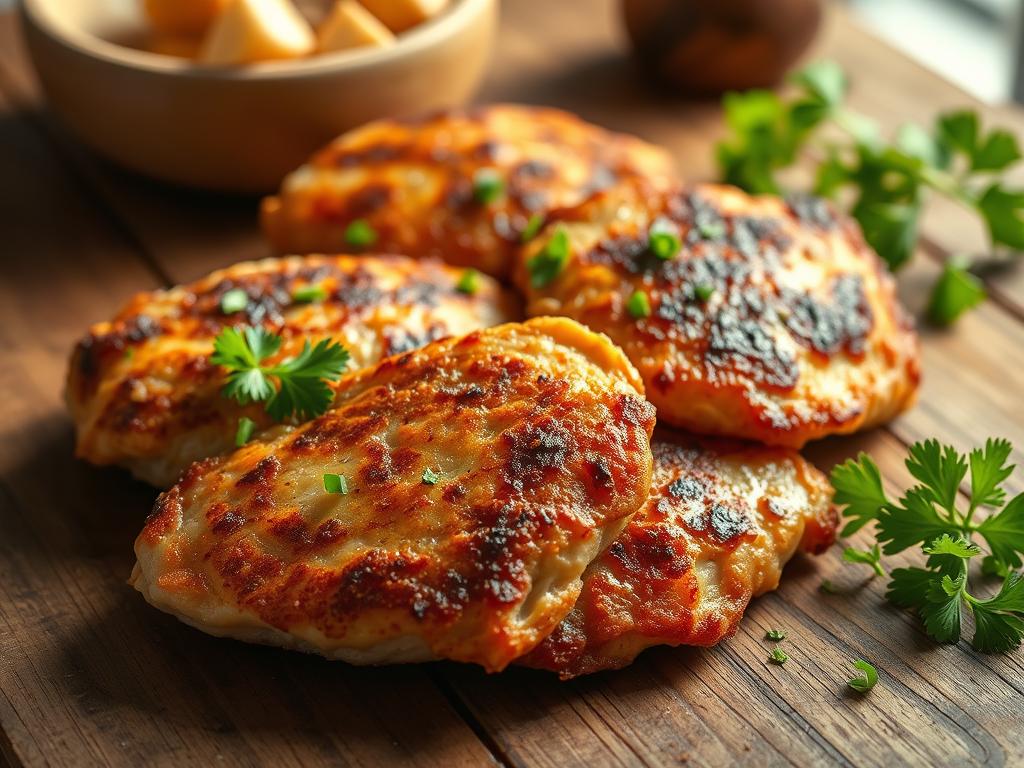
Best Practices for Chicken Cutlets in Oven
Transforming a simple dish into a culinary masterpiece often comes down to mastering the right techniques. When it comes to oven-baked cutlets, proper preparation and attention to detail can elevate your meal from ordinary to extraordinary.
Preheating Strategies and Cooking Times
Achieving the perfect crispiness starts with preheating your oven to the correct temperature. Set your oven to 425°F (220°C) and let it preheat for at least 15 minutes before baking. This ensures a hot start, crucial for that golden-brown texture.
Positioning your oven rack in the lower third allows for optimal airflow, preventing the bottom from burning. Use a sturdy pan lined with parchment paper for even cooking. Lightly spraying the pan with oil enhances texture and appearance, giving your dish a professional finish.
For specific baking times, bake the cutlets for 18-20 minutes. Flip them halfway through to ensure both sides are evenly crisped. For an extra golden crust, broil on high for the last 2-3 minutes—this step adds a satisfying crunch without extra oil.
Maintaining a Golden, Crispy Finish
Garlic and seasonings play a vital role in enhancing flavor. Mince 2-3 garlic cloves and mix them into your breadcrumb coating for an aromatic twist. Sprinkle the cutlets with your favorite herbs during the last 5 minutes of baking to preserve their potency.
Monitoring the time closely is essential. Check the cutlets after 15 minutes; they should be golden and crispy. If needed, extend the baking time by a few minutes, but watch carefully to avoid overcooking.
Once done, let the cutlets rest for 2-3 minutes before serving. This allows juices to redistribute, ensuring each bite remains tender and flavorful. Garnish with fresh parsley for a burst of freshness and color.
Delicious Side Pairings and Serving Ideas
Looking to elevate your meal? The right sides can make all the difference. Whether you prefer classic flavors or creative twists, there’s a perfect pairing for every taste.
Italian-Inspired Sides and Salads
Bring a touch of Italy to your table with fresh, vibrant salads. A Caprese salad, with its juicy tomatoes and creamy mozzarella, pairs beautifully with the savory cutlets. For a lighter option, try a simple Arugula salad tossed in olive oil and lemon juice.
Don’t forget the power of herbs! A sprinkle of fresh parsley or basil can add a bright, refreshing note to your dish. Plus, using parchment paper for serving keeps things crisp and mess-free.
Creative Sandwich and Pasta Options
Why stop at sides? Turn your cutlets into the star of a sandwich. Layer them with crisp lettuce, tomato, and a hint of aioli on a crusty bread for a satisfying meal. Or, toss them with pasta, cherry tomatoes, and a light olive oil sauce for a quick yet elegant dinner.
Remember, the key to a great dish is balance. With a little creativity, you can craft a meal that’s both flavorful and visually appealing. Experiment with different sides to find your perfect combination!
Meal Prep, Storage, and Reheating Tips
Planning meals in advance can save time and ensure you always have a delicious option ready. For oven-baked cutlets, batch cooking is a great way to prepare for the week.
Batch Cooking and Meal Prep Strategies
- Cook a large batch of cutlets and portion them into individual servings.
- Store each portion in an airtight container or ziplock bag.
- Label each container with the date and contents for easy identification.
Proper Storage and Reheating Methods
To maintain freshness, cool the cutlets completely before refrigerating or freezing. Place them in a bowl lined with parchment paper to prevent sticking.
- Refrigeration: Store in an airtight container for up to 3 days.
- Freezing: Place in a freezer-safe bag or container for up to 2 months.
For reheating, preheat the oven to 375°F. Place the cutlets on a baking sheet lined with parchment paper and bake for 10-12 minutes. Alternatively, use an air fryer at 400°F for 5-7 minutes. Sprinkle with parmesan before reheating for extra flavor.
Conclusion
Discover a way to enjoy a crispy, flavorful meal without the hassle of frying. This recipe offers a way to create a dish that’s both healthy and delicious, perfect for any occasion. By following the simple steps outlined, you can achieve a golden, satisfying texture that rivals fried options.
The key to success lies in using fresh, high-quality ingredients and a well-executed breading process. This method ensures a way to lock in moisture while creating a crunchy exterior. Whether you’re a busy parent or an avid cook, this dish is a versatile option for quick meals or special gatherings.
Feel free to experiment with the techniques and ingredients to make the dish your own. Share your experiences and tips in the comments below—we’d love to hear how you’ve perfected this recipe!
FAQ
What’s the best way to achieve crispy baked chicken cutlets?
Can I make chicken cutlets ahead of time for meal prep?
How do I prevent the breading from falling off the chicken?
What’s the secret to tender and juicy chicken cutlets?
Can I customize the breading with other seasonings?
How long should I bake thin chicken cutlets?
What are the best sides to serve with baked chicken cutlets?
How do I reheat baked chicken cutlets without losing crispiness?
LEAVE A REPLY
Your email address will not be published
Explore More:
Enjoy a Satisfying Buffalo Chicken Salad
The Perfect Chicken Steak and Cheese Combo
Pancake Mix Cookies: The Ultimate Shortcut Dessert
Recipe for Delicious Cracker Barrel Pancakes
Perfect Quick and Easy Mexican BBQ Chicken Recipe
