
Table of Contents
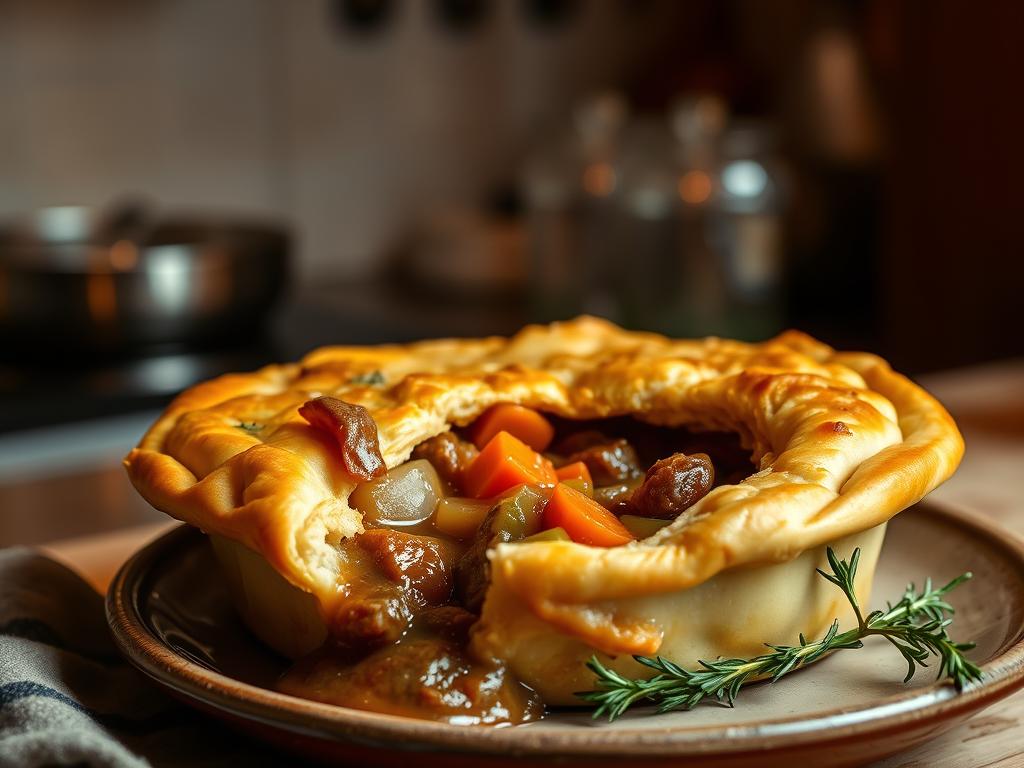
There’s something magical about a warm, flaky crust encasing a savory filling. It’s the kind of meal that feels like a hug on a plate. For many, beef pot pies are the epitome of comfort food, bringing back memories of family dinners and cozy evenings.
Whether you prefer steak or ground beef, this dish is incredibly versatile. You can tailor it to your taste and schedule, with some recipes taking just an hour while others might require a bit more time. The beauty lies in its adaptability—perfect for weeknight dinners or special occasions.
In this guide, you’ll learn seven actionable tips to elevate your pot pie game. From selecting the right meat to mastering the crust, these insights will help you create a meal that’s both delicious and memorable. Plus, it’s a fantastic way to use up leftovers, making it a family-friendly favorite.
Key Takeaways
- Beef pot pies are the ultimate comfort food with a flaky crust and savory filling.
- Versatile recipes allow you to use steak or ground beef based on your preference.
- Preparation time varies, ranging from 1 hour to 2-3 hours depending on the recipe.
- Seven actionable tips will help you perfect your pot pie, from meat selection to crust techniques.
- This dish is adaptable, making it ideal for leftovers and family meals.
1. Choose the Right Cut of Beef
The foundation of a great dish starts with the right ingredients. When it comes to creating a savory meal, selecting the perfect cut is crucial. The type of meat you choose will influence the texture, flavor, and overall success of your recipe.
Why Sirloin Steak Works Best
Sirloin steak is a top choice for its marbling, which keeps the meat tender during slow cooking. Simmering it for 2-3 hours allows the flavors to deepen, creating a rich and satisfying dish. This cut is ideal for those who prefer a hearty, melt-in-your-mouth texture.
Alternatives for Ground Meat
If you’re short on time, ground meat is a convenient option. Using a 90/10 blend minimizes grease while still delivering flavor. Browning it in a skillet for about 5 minutes helps develop a deeper taste. For a budget-friendly alternative, consider chuck roast or pre-ground options.
When choosing your meat, keep fat content in mind. Sirloin steak contains about 5g of saturated fat, while ground meat has around 9g. This difference can impact both flavor and health considerations.
2. Perfect Your Pie Crust
A great crust can make or break your dish, so getting it right is essential. Whether you opt for store-bought or homemade, the crust sets the tone for your meal. Here’s how to achieve a flaky, golden finish every time.
Store-bought vs. Homemade Crusts
Store-bought crusts, like Pillsbury, are convenient and save time. They’re pre-rolled and ready to use, making them ideal for busy cooks. However, homemade crusts offer unmatched flavor and texture. Using cold butter and working quickly ensures a flaky result.
| Feature | Store-bought | Homemade |
|---|---|---|
| Convenience | High | Low |
| Flavor | Good | Excellent |
| Texture | Consistent | Flaky |
Tips for a Flaky, Golden Crust
For homemade dough, keep your butter cold (around 40°F) and work quickly to prevent gluten overdevelopment. Freezing the dough for 30 minutes before rolling helps maintain its structure. To avoid soggy bottoms, assemble your dish quickly and preheat your oven to the right temperature.
An egg wash is the secret to a glossy, golden brown finish. Mix one egg with a teaspoon of water and brush it lightly over the crust before baking. This simple step elevates the appearance and texture of your dish.
By following these tips, you’ll create a crust that’s both visually stunning and delicious. Whether you choose store-bought or homemade, the right techniques ensure a memorable meal.
3. Master the Gravy
The secret to a rich, flavorful dish often lies in its sauce. A well-made gravy can elevate your meal, adding depth and richness that ties everything together. Whether you prefer a classic roux or a quick cornstarch slurry, the right technique ensures a smooth, savory result.
How to Thicken Your Gravy
There are two main methods for thickening gravy: using a roux or a cornstarch slurry. A roux is a mixture of equal parts flour and butter, cooked until golden. This method adds a nutty flavor and works well with beef broth or other liquids. For a quicker option, a cornstarch slurry (3 tbsp cornstarch + ⅓ cup water) thickens instantly when heated.
To avoid lumps, whisk constantly while adding your thickening agent. If your gravy turns out too thick, simply add more broth to reach the desired consistency. For a vegetarian twist, swap beef broth for mushroom broth.
Flavor Enhancers Like Worcestershire Sauce
Adding Worcestershire sauce is a game-changer for flavor. Just 2 teaspoons can boost the umami profile of your gravy, making it more complex and satisfying. Deglazing your pan with beef broth after browning meat also enhances depth, thanks to the Maillard reaction.
For a richer taste, consider simmering your gravy with herbs like thyme or rosemary. These small touches can transform your dish into a culinary masterpiece.
4. Balance Your Vegetables
The right mix of vegetables can transform your dish into a hearty, colorful masterpiece. Choosing the right veggies ensures a balance of flavors, textures, and nutrients. Whether you stick to the classic trio or experiment with seasonal swaps, the key is to prepare them correctly.

Essential Veggies: Carrots, Potatoes, and Peas
The classic combination of carrots, potatoes, and peas is a timeless favorite. Carrots add a touch of sweetness, potatoes provide heartiness, and peas bring a pop of color. For even cooking, dice your carrots into ¼-inch pieces. This ensures they soften perfectly without turning mushy.
When using peas, avoid overcooking them. Add frozen peas at the end of the cooking process to retain their vibrant color and texture. This simple tip keeps your dish fresh and visually appealing.
Adding Variety with Mushrooms or Celery
For a richer flavor profile, consider adding mushrooms or celery. Sliced mushrooms (about 2 cups) introduce an earthy depth, while celery ribs build a robust flavor base when cooked with onions. These additions elevate your dish, making it more complex and satisfying.
Seasonal swaps like parsnips or sweet potatoes can also add variety. These alternatives keep your meal exciting and adaptable to what’s fresh and available.
| Vegetable | Role | Preparation Tip |
|---|---|---|
| Carrots | Sweetness | Dice into ¼-inch pieces |
| Potatoes | Heartiness | Cut into uniform cubes |
| Peas | Color | Add frozen at the end |
| Mushrooms | Earthy Depth | Slice thinly |
| Celery | Flavor Base | Cook with onions |
By balancing your vegetables, you create a dish that’s not only delicious but also visually stunning. Experiment with different combinations to find your perfect mix.
5. Layer Flavors with Seasoning
Seasoning is the unsung hero of any great dish, adding depth and complexity with every pinch. It’s not just about sprinkling salt and pepper; it’s about understanding how each ingredient enhances the overall flavor profile.
The Role of Salt and Pepper
Salt does more than just add flavor—it also tenderizes meat and balances other ingredients. Start with ½-1 teaspoon of salt and ½ teaspoon of pepper, adjusting as you go. Progressive seasoning, adding salt in stages, ensures even distribution and avoids over-salting.
Pepper adds a subtle heat and complements the richness of your dish. Use freshly ground pepper for the best flavor, as pre-ground options lose their potency over time.
Herb Pairings for Depth and Brightness
Herbs like thyme and oregano are perfect for hearty dishes, adding earthy notes. For a touch of brightness, parsley or basil works wonders. A blend of basil and oregano can elevate your recipes, creating a harmonious flavor profile.
If you’re watching your sodium intake, consider low-sodium broth alternatives. Finishing salts like Maldon can add a satisfying crunch and burst of flavor without overwhelming the dish.
Always taste-test before baking. This simple step ensures your seasoning is just right, making your meal truly unforgettable.
6. Assemble and Bake Like a Pro
The final step in creating a perfect dish is mastering the bake. Proper assembly and baking ensure a delicious, golden result. Whether you’re using a lattice or full crust, these tips will help you achieve a professional finish.
Preheating the Oven for Even Baking
Preheating your oven is crucial for even baking. For precooked fillings, set your oven to 350°F and bake for about 25 minutes. This lower temperature prevents overcooking. For raw fillings, increase the heat to 425°F and bake for 35-40 minutes. This ensures the filling cooks thoroughly.
To protect your crust from burning, cover the edges with foil. This simple step keeps the top golden brown while the filling cooks. Remove the foil during the last 10 minutes for a crisp finish.
Egg Wash for a Golden Finish
An egg wash is the secret to a glossy, golden brown crust. Mix one egg with a teaspoon of water and brush it lightly over the top. This not only enhances the appearance but also adds a subtle richness to the flavor.
For a flaky crust, make ½-inch slits on the top to allow steam to escape. This prevents sogginess and ensures a crisp texture. Whether you choose a lattice or full crust, these techniques guarantee a perfect bake.
| Baking Method | Temperature | Time |
|---|---|---|
| Precooked Fillings | 350°F | 25 minutes |
| Raw Fillings | 425°F | 35-40 minutes |
To test for doneness, insert a thermometer into the center. The internal temperature should reach 165°F, and the filling should be bubbling. These signs confirm your dish is ready to serve.
7. Serve and Store with Care
The way you serve and store your dish can make all the difference in taste and texture. Proper handling ensures your meal stays fresh, flavorful, and safe to eat. From cooling to reheating, these tips will help you enjoy your creation to the fullest.
Letting the Dish Cool Before Serving
After baking, let your dish rest for about 5 minutes. This allows the filling to set and prevents it from spilling onto your plate. During this time, carryover cooking continues, enhancing the flavors and ensuring the meat stays tender.
For a firmer texture, extend the cooling time to 20 minutes. This also makes it easier to slice and serve without compromising the crust’s integrity. Patience here pays off with a better dining experience.
Storing Leftovers for Maximum Freshness
To keep your meal fresh, portion it into airtight containers. This prevents excess fat from solidifying and maintains the dish’s moisture. For short-term storage, refrigerate for up to 3 days. For longer storage, freeze for up to 3 months.
When reheating, the oven is your best bet. Preheat to 350°F and bake for 20-25 minutes. This revives the crust’s crispiness and evenly warms the filling. For a quicker option, use the microwave, but cover the dish to retain moisture.
| Storage Method | Shelf Life | Reheating Instructions |
|---|---|---|
| Refrigerator | 3 days | Oven: 350°F for 20-25 minutes |
| Freezer | 3 months | Microwave: Cover and heat in 1-minute intervals |
Always follow the 2-hour rule for leftovers. Discard any food left at room temperature for more than 2 hours to avoid foodborne illnesses. These simple steps ensure your meal remains safe and delicious every time.
Conclusion
Creating the ultimate comfort meal is all about mastering the details. A flaky crust, rich gravy, and perfectly balanced vegetables are the hallmarks of a great pot pie. Don’t be afraid to experiment with different proteins or seasonal veggies to make the recipe your own.
Pair your dish with warm sourdough rolls for a complete experience. If you enjoyed this beef pot pie, try a Chicken Pot Pie Casserole for a twist on the classic. It’s a hearty option that’s just as satisfying.
We’d love to hear how your pot pie turned out! Share your thoughts and rate the recipe to help others create their perfect comfort meal. After all, there’s nothing like a warm, homemade dish to bring joy to your table.
FAQ
What’s the best cut of meat to use for this recipe?
Should I use store-bought or homemade pie crust?
How do I thicken the gravy for my pie?
What vegetables should I include in the filling?
How do I season the filling properly?
What’s the best way to bake the pie?
How should I store leftovers?
Explore More:
How to Make the Perfect Hamburger Cabbage Recipe
What makes Chicken Salad Chick’s Dixie Chick salad
How to Make 7-Layer Chili Con Carne Enchiladas
How to Cook Frozen Ground Beef in Instant Pot
How to Whip Up a Delicious Ground Beef Cabbage Skillet